Latest Posts
How to Install PicoFly on Your SD Card: A Step-by-Step Guide
Gaming systems often come with frustrating limits, but PicoFly offers a way around them. It can expand your options and improve performance, but installation requires precision. A single misstep might brick your system. And an SD card is the foundation of a successful installation. So, this guide breaks down the process, whether you’re starting from scratch or upgrading. From picking the right card to adjusting boot settings, it’s all here.
Follow along to know more.
Understanding PicoFly SD Requirements
Check if your SD card meets all requirements before installing PicoFly. The right setup will help you avoid common problems down the road.
Compatible SD Card Types
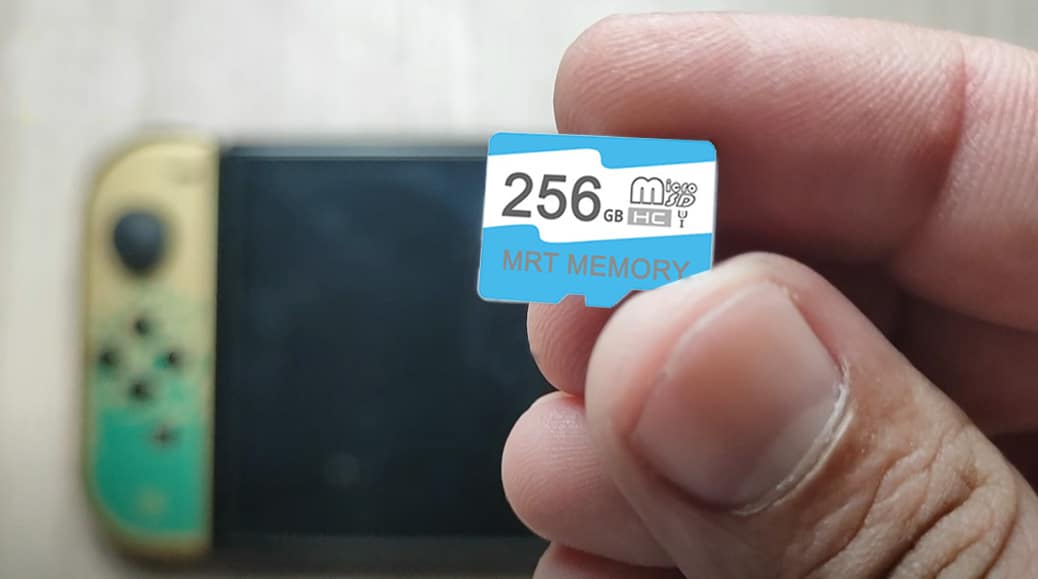
Your PicoFly setup needs a compatible microSD card. Nintendo Switch supports these card types:
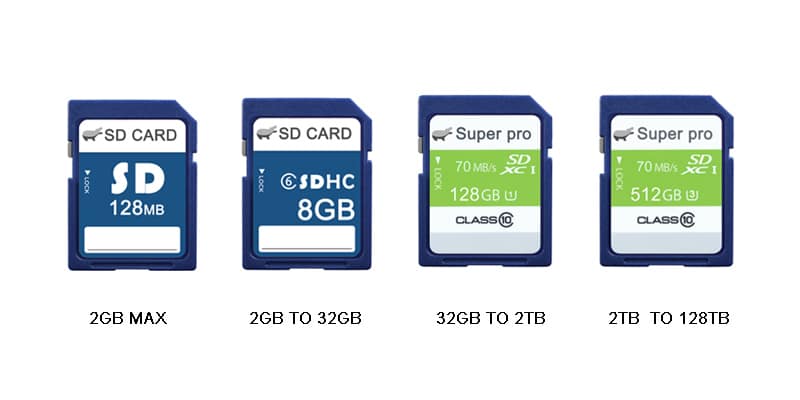
- microSD (up to 2GB)
- microSDHC (4-32GB)
- microSDXC (64GB and above)
A UHS-I compatible card with a transfer speed of 60-95 MB/sec will give you the best performance.
Storage Space Planning
Small cards might seem enough, but the system needs lots of space. You should get at least a 64GB card since 32GB goes to system files. Most users find 256GB or larger cards give them the best value for their money.
File System Formatting Guidelines
The right formatting makes your SD card work well with PicoFly. Your card needs FAT32 formatting. ExFAT might work, but it can make some PicoFly installations unstable.
Format your new SD card first to prevent corruption and ensure smooth operation. This step wipes existing files and reduces operation problems. Make sure you back up your data before formatting because this process erases everything on the card.High-quality cards from Samsung, SanDisk, or Sony will give you the best results. These brands’ cards are more reliable and perform better, which your PicoFly setup needs.
Downloading and Organizing Required Files
Your PicoFly installation needs careful attention to download and host the right files. Here’s everything you need to set it up successfully.
Essential PicoFly Components
Start by downloading these core components:
- Latest PicoFly firmware (currently version 2.74)
- Hekate bootloader
- Atmosphere custom firmware
- Required sigpatches
Important: Download these files from official sources to maintain security and compatibility.
Supporting Software Packages
Your PicoFly setup needs more software to work properly. Sthetix’s HATS pack offers a complete package that comes with overclock capabilities. Manual installation requires hosting your files according to the standard Atmosphere structure.Copy the Hekate bootloader file (hekate_ctcaer) to your SD card’s root directory. Rename the file to payload.bin to set up a smooth boot process.
File Version Compatibility Check
Check your firmware compatibility before installation. The latest PicoFly firmware supports Nintendo Switch firmware version 18.0.1. PicoFly Toolbox helps you check your current firmware version.Pro Tip: Store your downloaded files in separate folders on your computer before moving them to your SD card. It facilitates future troubleshooting if you need updates or reinstallation.Your system’s specifications must match all components. The firmware supports different board types, including Waveshare RP2040, Pi Pico, and XIAO 2040.
Configuring Primary Boot Settings
With your files prepared on your SD card, the next step is configuring the boot process. This involves setting up the necessary files and configurations for PicoFly to function correctly.
Preparing the SD Card for Boot
- Power off your Nintendo Switch completely.
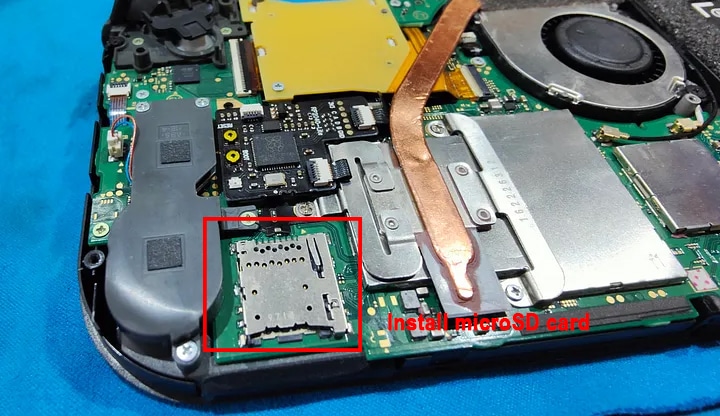
- Insert your prepared SD card (containing the necessary files like payload.bin (Hekate) and the bootloader folder).
Understanding Boot Process
The Switch’s boot process involves several stages. PicoFly bypasses the standard boot process to load custom firmware. The payload.bin (usually Hekate) acts as a bootloader, allowing you to launch various payloads (like Atmosphere). The bootloader folder contains configuration files that Hekate uses. There are no “Boot0 and Boot1 partitions” on the SD card in the way the original text described; these are internal to the Switch.
Configuring Boot Entries (hekate_ipl.ini)
The hekate_ipl.ini file within the bootloader folder is crucial. It defines boot entries, allowing you to choose which payload to launch (e.g., Atmosphere, stock firmware). Consult official guides for configuring this file, as the specifics depend on your setup. Be careful—faulty settings can stop your system from booting.
Testing Your Configuration
After configuring hekate_ipl.ini, test your setup:
- With the SD card inserted, use the appropriate method for your PicoFly installation to boot into the RCM (Recovery Mode) or some other boot method to trigger the modchip. This will inject the payload.
- Hekate should appear. Use the controls (usually volume buttons and power) to navigate the menu.
- Attempt to launch your chosen payload (e.g., Atmosphere).
A black screen or other errors indicate a problem with your configuration (e.g., incorrect hekate_ipl.ini settings, missing files). Double-check your setup and consult official troubleshooting resources.
Implementing Advanced Features
Updating PicoFly Firmware
PicoFly firmware updates are separate from Atmosphere or Switch system updates. The process usually involves:

- Downloading the latest PicoFly firmware .bin file from the official source.
- Placing the .bin file on the SD card root and renaming it to update.bin.
- Using the PicoFly Toolbox or another method (consult official PicoFly documentation) to initiate the update.
Follow official instructions for updating PicoFly firmware to avoid problems.
Custom Themes
Custom themes modify the Switch’s user interface within Atmosphere.
- Install the Homebrew App Store through the Album applet in Atmosphere.
- Find and install themes from the Homebrew App Store.
- Use only verified and compatible themes to avoid issues.
Backups and Recovery
Regular backups are essential for data protection.
- EmuNAND Backups: If using EmuNAND (a separate copy of the Switch’s system on the SD card), back up the EmuNAND partition regularly.
- Game Saves: Back up game saves frequently, especially for custom firmware.
- Configuration Files: Back up important configuration files (e.g., hekate_ipl.ini).
Recovery Options
- PicoFly Firmware Rollback: Some PicoFly tools may offer a rollback feature to revert to a previous firmware version. Consult official documentation.
- SD Card Backups: Keeping backups of your entire SD card content on your computer allows you to recover from card corruption or other issues.
Conclusion
The PicoFly setup process can look intimidating but becomes simple with proper guidance. Ensure your SD card meets the specs, arrange files in order, and carefully configure the boot.
Backup your data regularly to prevent issues down the line. Properly managing themes and payloads will improve your gaming and protect your system. Good hardware, precision during installation, and consistent backups are the foundation for success.

Leave a comment